
Email is one of the most common contact methods around the word. Because of its convenience, sending mail to lots of receivers can help you get in touch with multiple customers at the same time. However, Google can mark spam if you send too many mails manually on the same IP. Our MailerKing software can work as a mass email sender without being marked as spam.
OUTSTANDING FEATURES OF MAILERKING
- Send mass email with Gmail accounts (Using web interface)
- Send email in bulk with SMTP server
- The software simulate different devices
- Runs with multiple threads
- Can use rotated proxy to run
- The software is easy to use
- Frequently update
- Save time and cost
HOW TO USE THE MASS EMAIL SENDER BOT – MAILERKING?
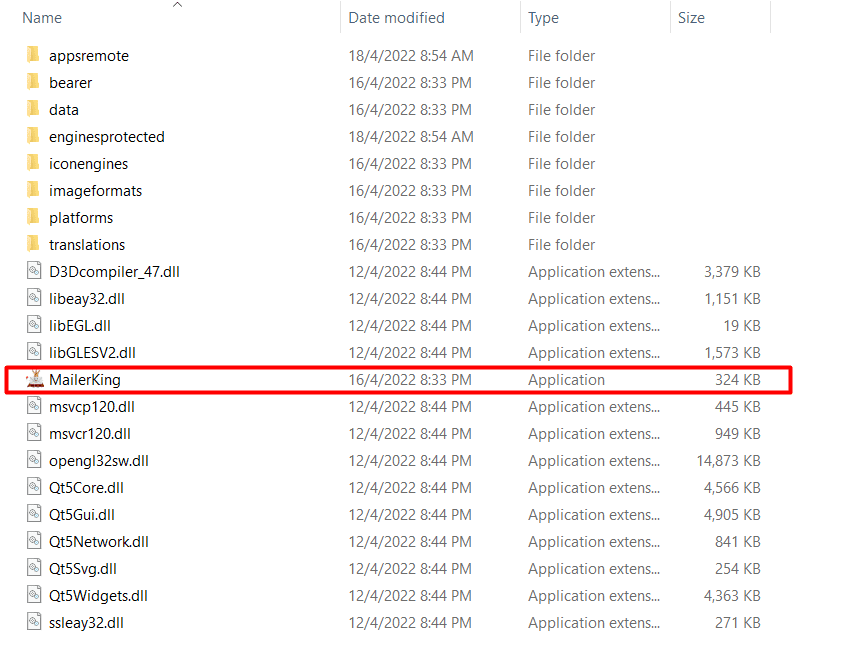
When you buy MailerKing – Mass email sender software, we will provide you with 2 links, consisting of software link and useragent file. Download both files and unzip the MailerKing.rar, then run the MailerKing.exe. to open the software.
Enter the provided license username and password into Login and Password.
Click OK to login.

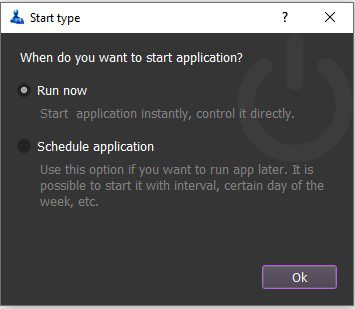
You choose one of two ways:
- Run now: Run the software instantly
- Schedule: Schedule the application to run at specific time
>>Learn more: How to use Schedule Function.
This is the interface of the MailerKing bot
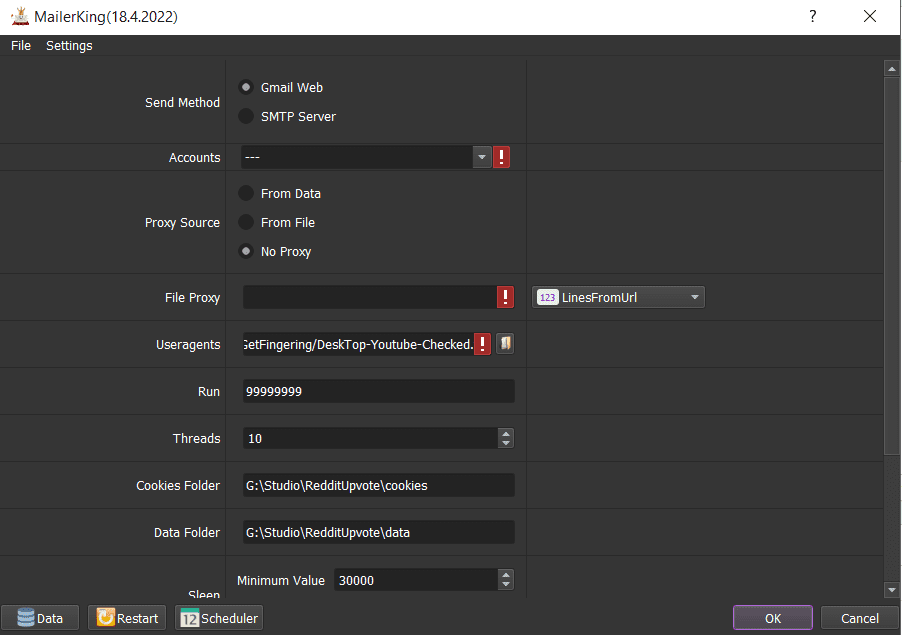
A. BASIC SETTING – MASS EMAIL SENDER BOT
These are fields that you need to set up before running any function of this MailerKing software.
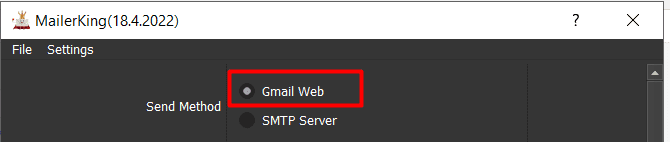
A1. Send Method
Select one of these two send methods:
- Gmail Web: the software will log in Gmail accounts and send emails in bulk
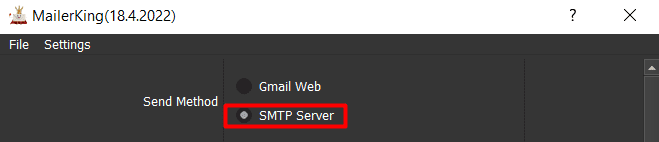
- SMTP Server: the software send mass email with SMTP server
Note: SMTPserver (Simple Mail Transfer Protocol) can send email in bulk without logging Email accounts.

A2. Proxy Source
To avoid being marked as spam, you should use proxies.
>> You can rent safe and cheap proxy from this website https://saferproxy.com/
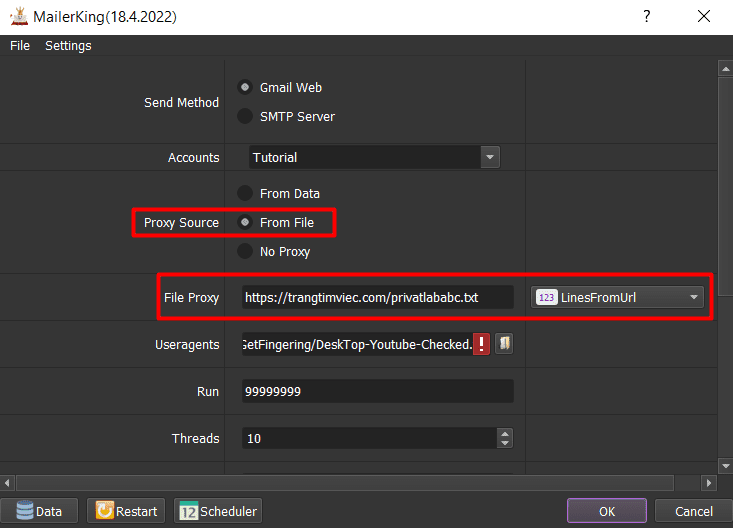
A2.1. From File
At Proxy Source, select From File
Next, at File Proxy section:
- In case you select Lines From Url, you paste the proxy address link into File proxy section as shown
- In case you select Lines From File, you create a text file where you put the proxies per lines. Click on
 => select the created proxy file.
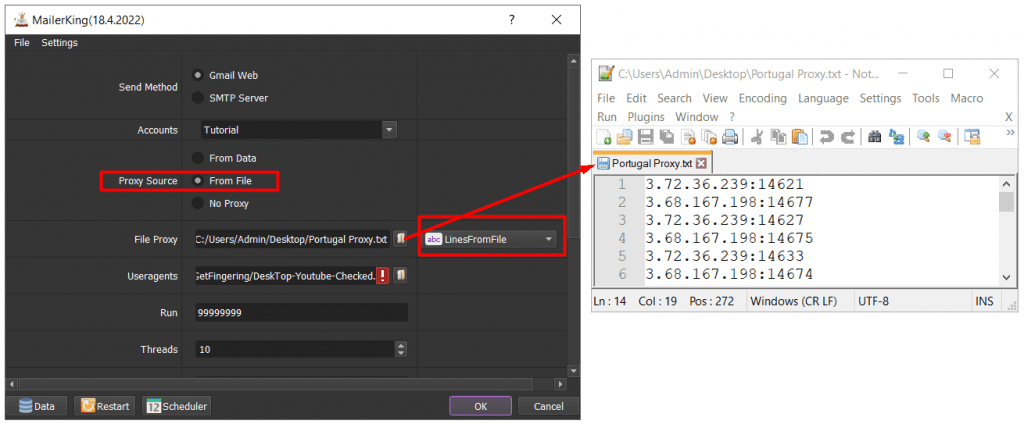
Note: Proxy format is IP:Port:Username:Password. Leave username and password empty if your proxy doesn’t have username and password ( Some proxies work with IP authentication instead of using username and password).
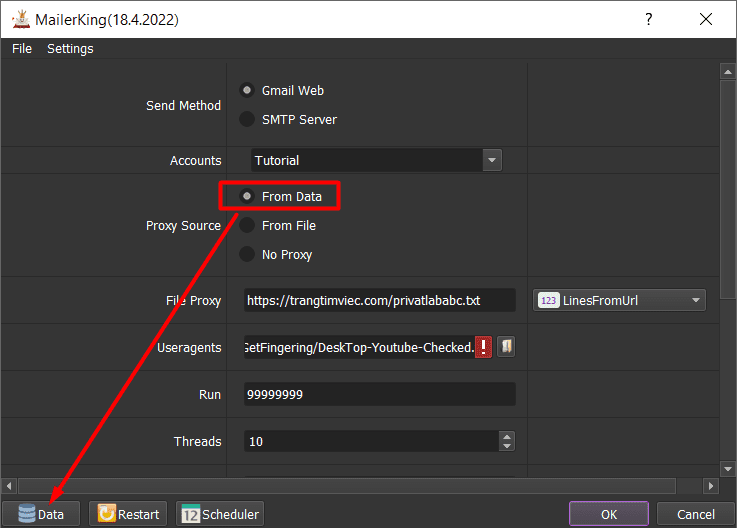
A2.2. From Data
At Proxy Source, select From Data
The software will use proxies that were imported with Email accounts. Kindly refer to A11. Accounts to learn how to import data into software.
A2.3. No proxy
At Proxy Source, select No proxy
The software will use the IP of your computer to send email.
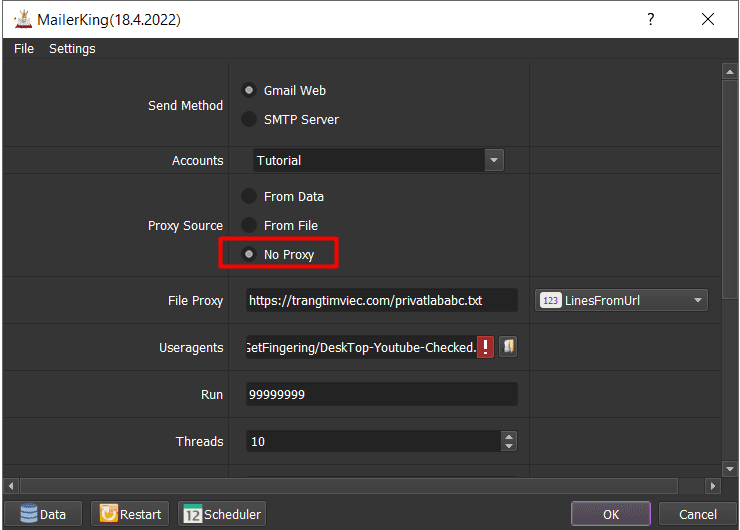
Note: If you create too many emails on the same IP, your mails can be marked as spams.
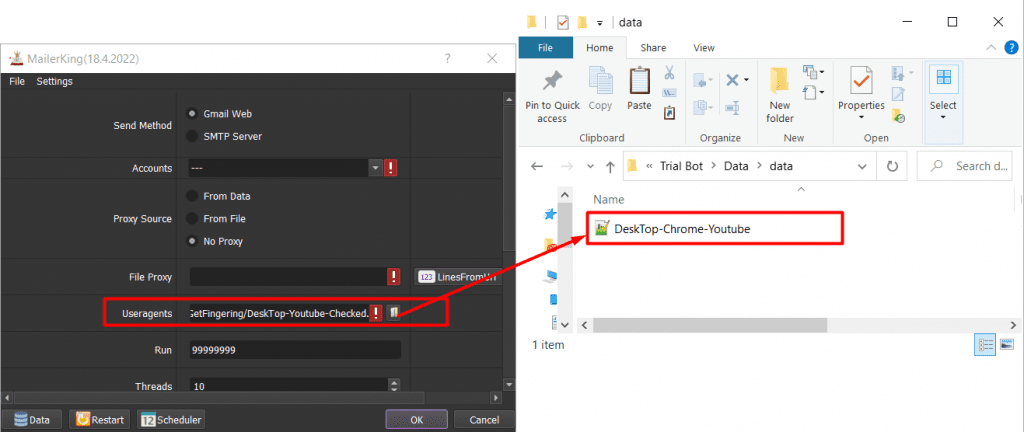
A3. Useragent File
At Useragent section, click on => select the useragent file that was provided.
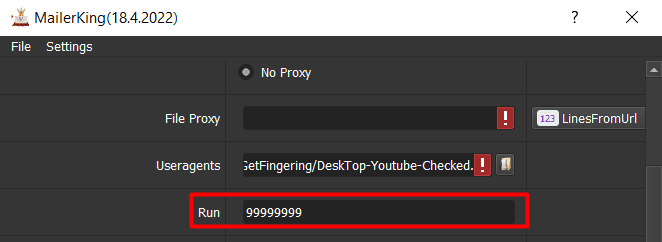
A4. Run
This is the number of times that you want the software to run. You can leave it as the default.
Note: If you put “999999”, the software will run continuously until you stop it manually.
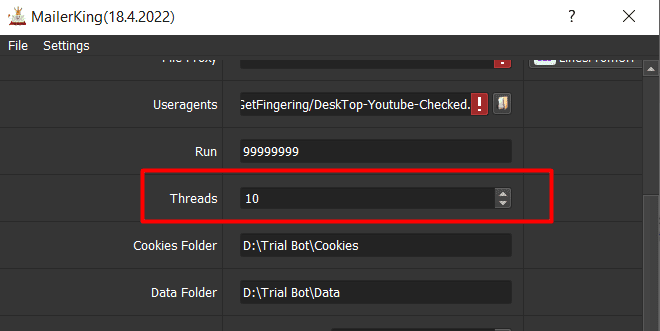
 A5. Threads
This is the number of mail that you send at the same time.
Each thread will open a separate browser which has different fingering and IP. Provide number of threads that complies with your computer configuration.
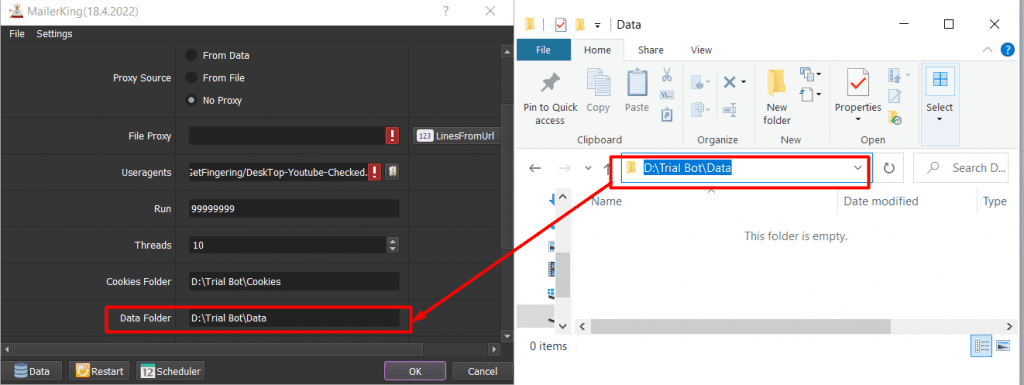
A6. Cookies Folder & Data Folder
- Folder Cookies is a place where the software will store cookies and profiles of the accounts. Software will use cookies and profiles for the next runs without logging back into accounts. Create a new Cookies folder on any hardware disk that you want to save cookies and profile and get the path to put into the setting as shown
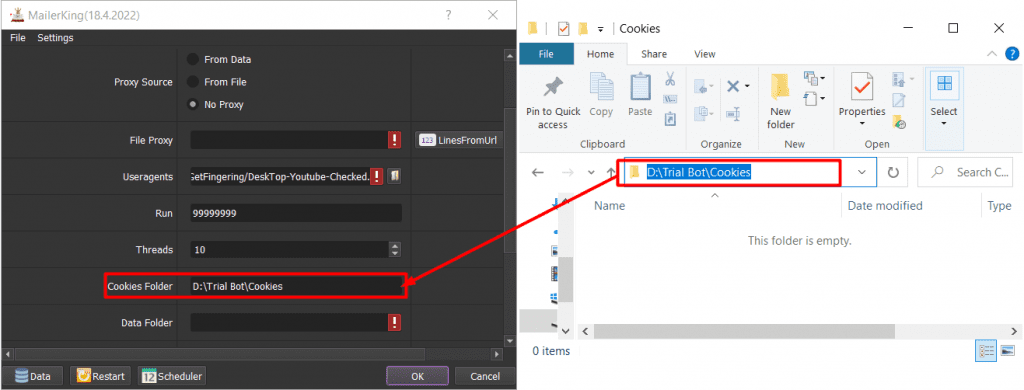
- Create a new folder named Data to contain data on any hardware disk that you want and get the path to put into the setting as shown
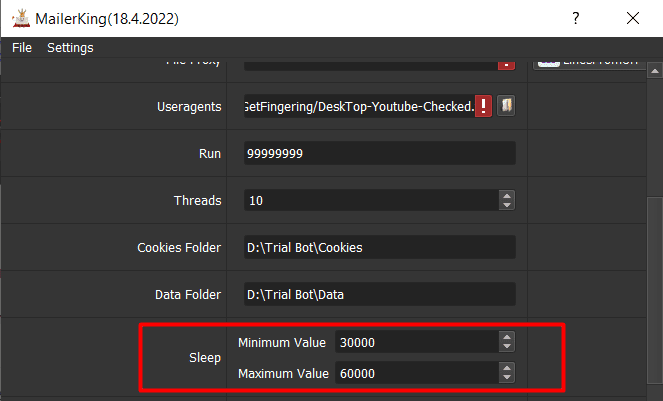
A7. Sleep
Sleep is the range of time among run turns.
Note: Unit is Milliseconds (Ex: 30000 = 30 seconds)
Example: After finishing running one turn of threads, the software will delay in 3-6 seconds before performing the next turn of threads if you set up as shown
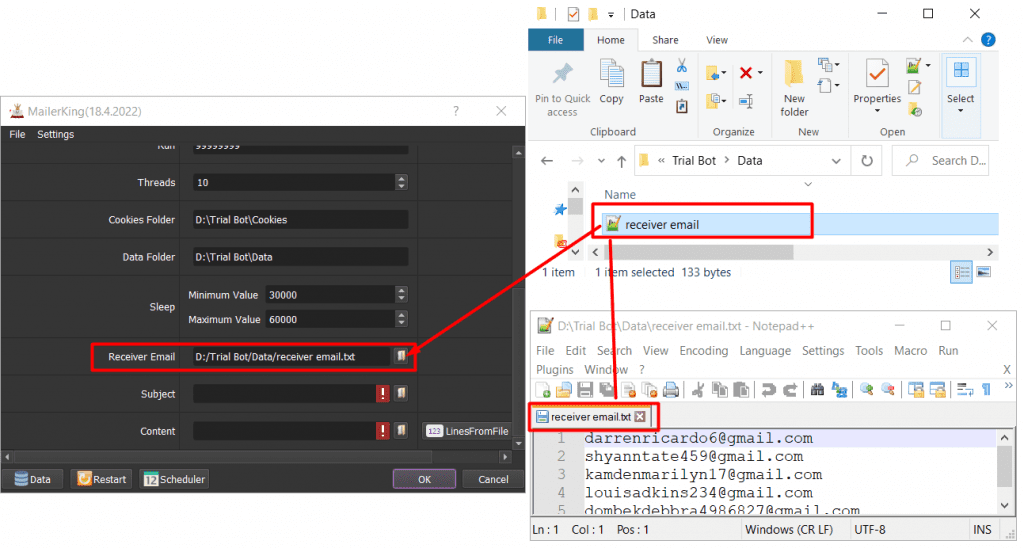
A8. Receiver Email
First, you create a text file to contain email address of receivers.
Next, at Receiver Email section, click on => select the text file of email which was created.
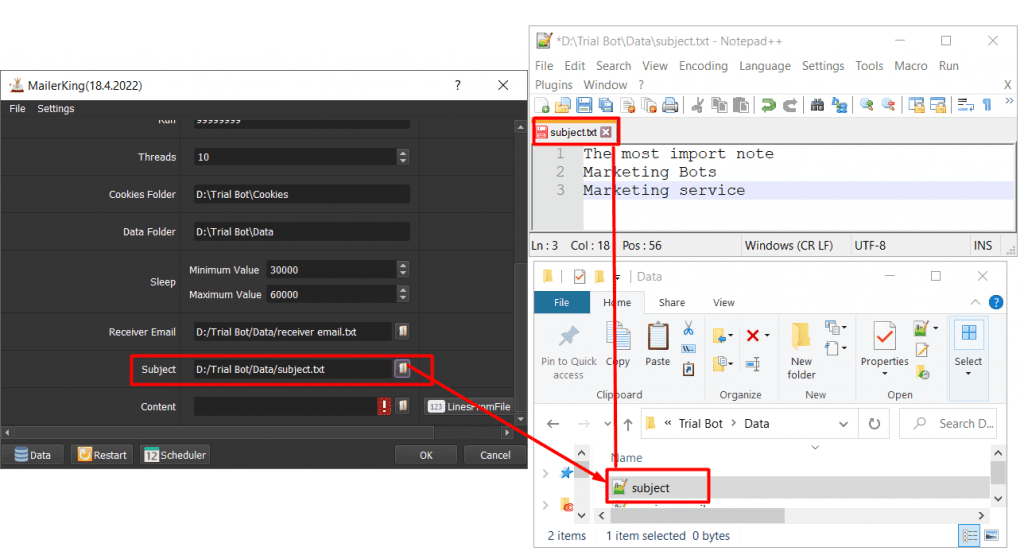
A9. Subject
First, you create a text file to contain titles of emails that you want to send
Next, at Subject section, click on => select the text file of titles which was created.
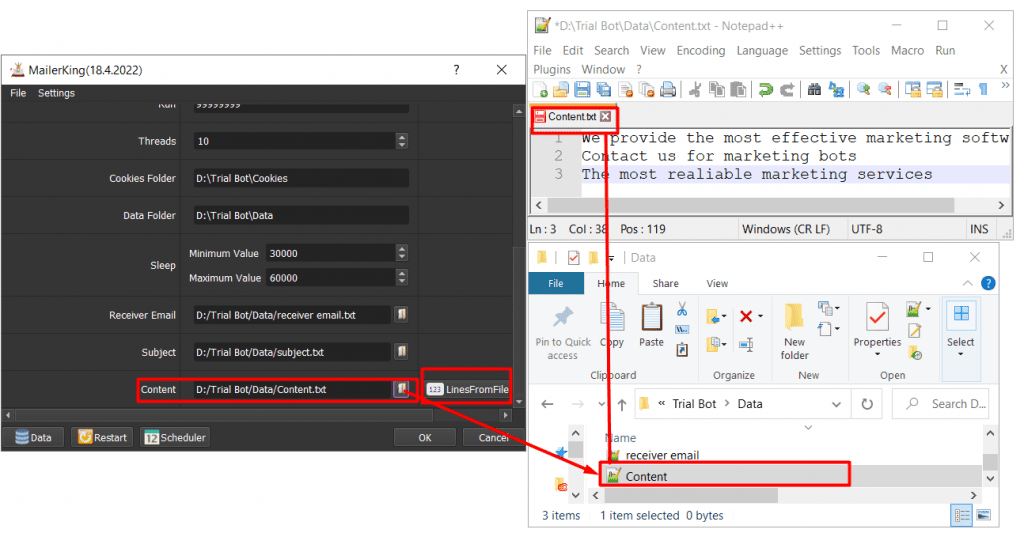
A10. Content
You can select one of these two options: LinesFromFile or RandomString
A10.1. LinesFromFile
First, if you want to send email with 1 line content only, select LinesFromFile at Content section.
Then, you create a text file to save contents of emails that you want to send
Next, at Content section, click on => select the text file of contents which was created.
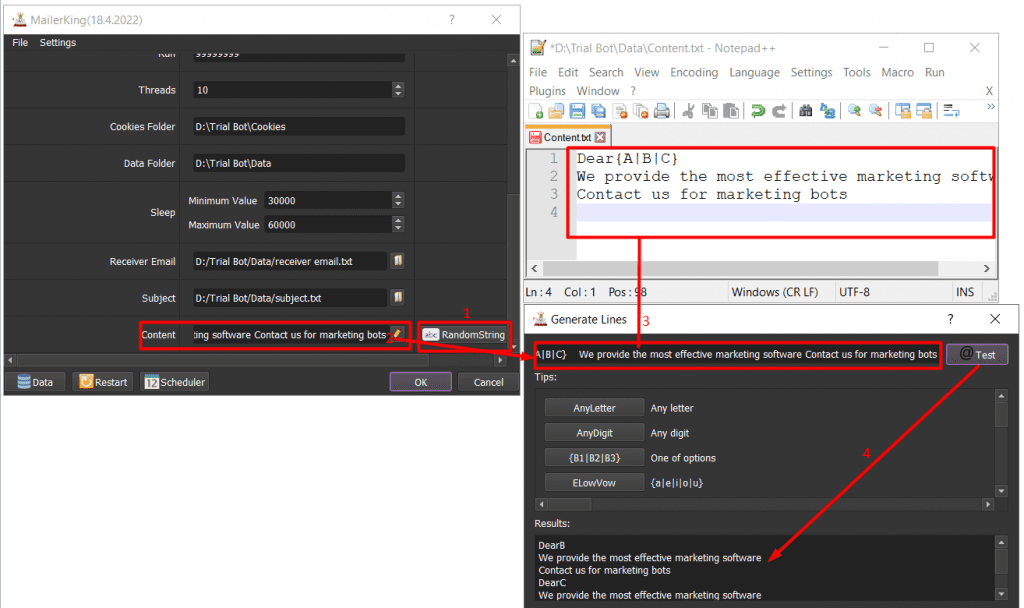
A10.2. RandomString
In case you want to send content email with more than 1 lines, select RadomString at Content section.
Next, you create a text file to save content of email that you want to send per lines
Then, you click on at Content section => copy and paste the content that you want to send from the text file which has just been created above => click on @Test to see the content.
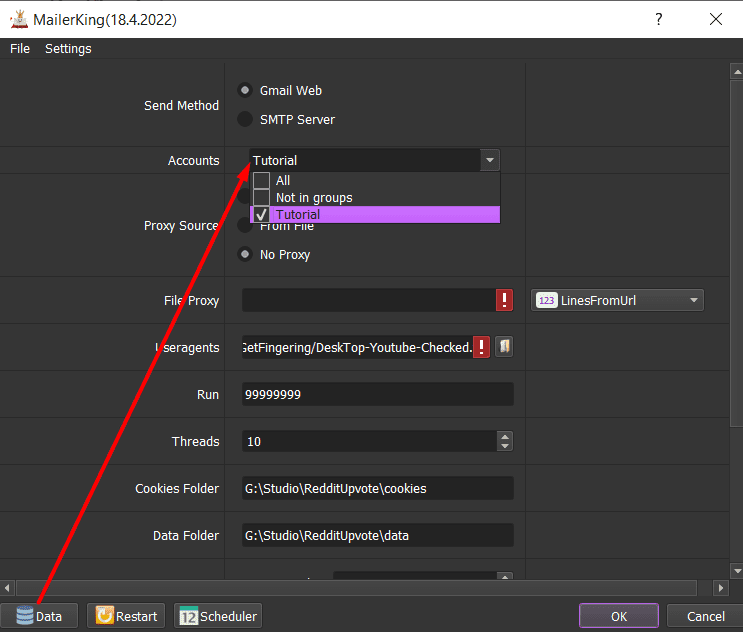
A11. Accounts
First, you need to import accounts into Data
>Refer to HOW TO IMPORT DATA
Note:
- You can refer to this Template.
- If you select Gmail Web at Send Method section, you need to import Gmail, Password, Recovery Email, Proxy (if any), Port (if any), Proxy Username (if any), Proxy Password (if any).
- If you select SMTP at Send Method section, you need to import Email (Gmail, Yahoo, Gmx, Hotmail, etc.) with activated SMTP, Password, Recovery Email, Proxy (if any), Port (if any), Proxy Username(if any), Proxy Password (if any), SMTP Server, SMTP Port.
>>> Refer to GmailProfile Bot which supports in activating SMTP in bulk
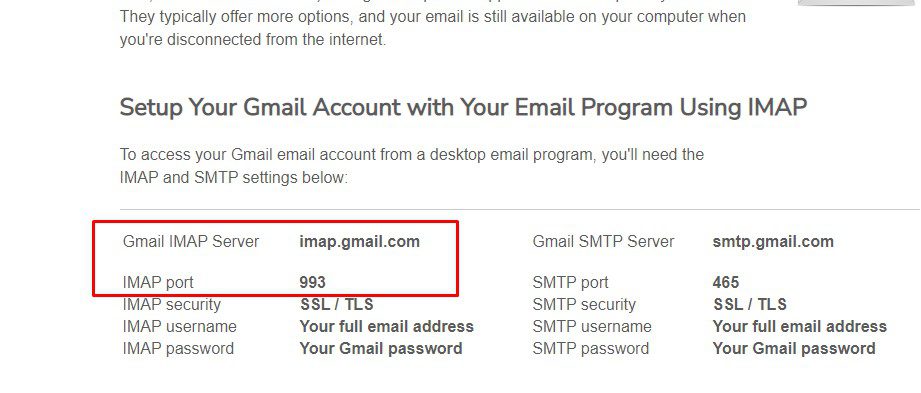
- You can search on Google to take SMTP Server & SMTP Port of type of email that you imported.
For example:
-
- Imap Server and Imap Port of Gmail accounts.
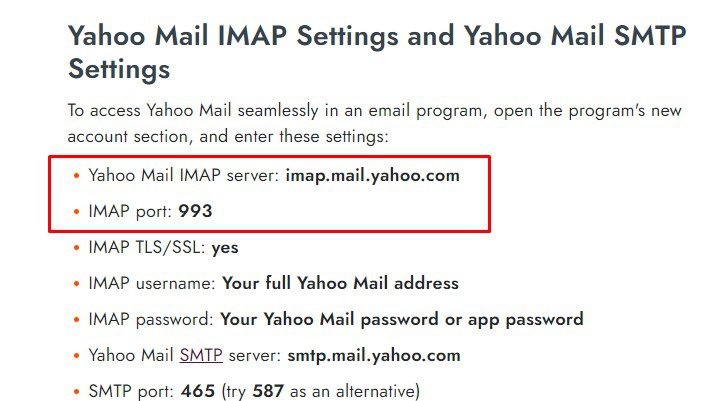
-
- Imap Server and Imap Port of Yahoo accounts.
Then, select the group that you want to use at Accounts section
B. HOW TO RUN EACH FUNCTION? – MAILERKING
B1. Gmail Web
At Send Method, you select Gmail Web
Next, check all the parameters mentioned in part A
Finally, click OK
B2. SMTP Server
At Send Method, you select SMTP Server
Note: Remember to activate SMTP of Email accounts that you imported at Accounts section
Then, check all the parameters mentioned in part A
Finally, click OK
Tutorial Video
Thank you for following this Tutorial, we hope it will be useful for you!
For more details, kindly contact us at Autobotsoft.com